
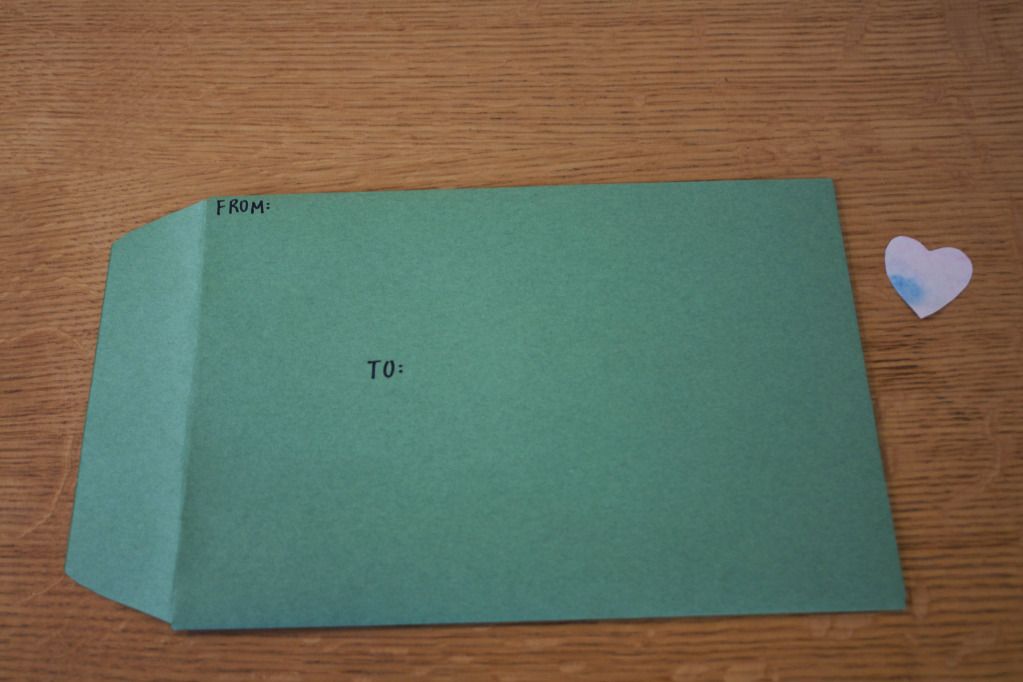
1.) Get four pieces of construction paper, two each of the same color (mine were two green and two tie-dye). Cut the construction paper that you want to show on the outside into the shape shown above (mine was green, the one all the way on the left in the picture above). I measured the card I was planning on sending to make sure that envelope wasn't too small (the inner rectangle of the cut construction paper shouldn't be smaller than the card you are sending). Simply cut from the corner in, making sure the top of the envelope has a bigger lip than the bottom. By using a ruler, I made each side about symmetrical.
2.) Cut the other green construction paper so it is the same size as the inner rectangle of the previously cut green paper. I again used a ruler to trace the inner rectangle and make the two pieces of paper line up perfectly.
3.) Cut the other two tie-dye construction paper pieces so they are the same size as the green inner rectangle paper you just cut.
 |
 |
4.) Glue the green inner rectangle to one of the tie-dye papers and also glue the other tie-dye piece to the inner rectangle of the green paper with the corners cut out.
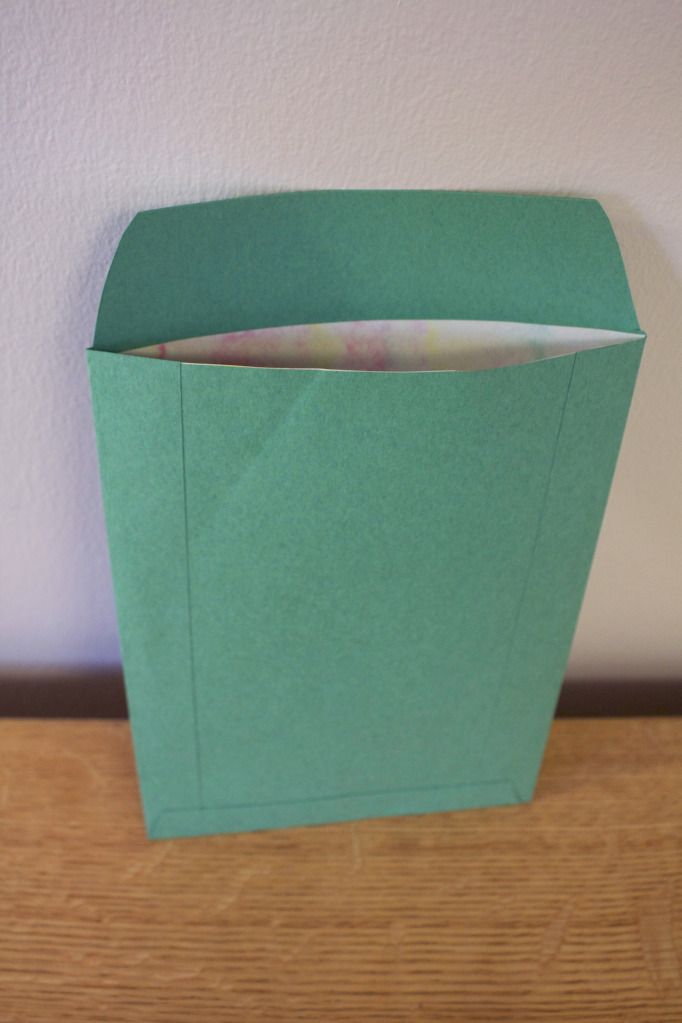
5.) Lay the newly created construction paper that has a green and tie-dye side (picture on the left) so that it fits perfectly on the inner rectangle of the green construction paper with the lips. Make sure the green side is facing out and the tie-dye side is facing in. There now should be a small lip on the right and left side of the inner rectangle and a large lip on the top and bottom.
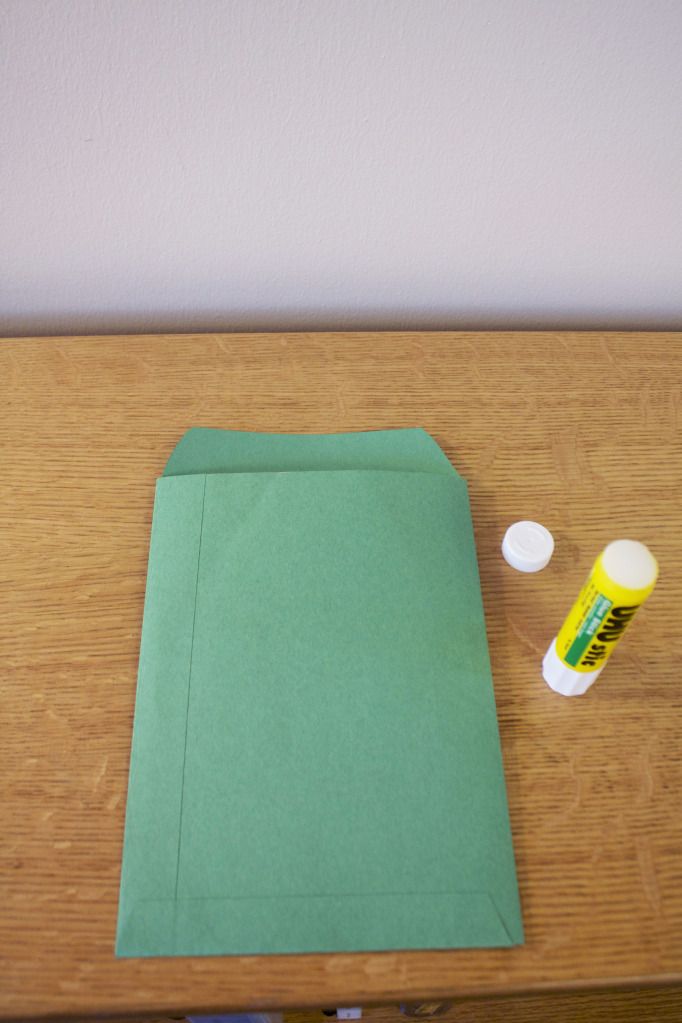
6.) Glue and fold the edges along the right and left side of the green construction paper so that it is securely fastened to the double sided inner rectangle (like the picture on the right and below).
6.) Glue and fold the edges along the right and left side of the green construction paper so that it is securely fastened to the double sided inner rectangle (like the picture on the right and below).
 |
 |
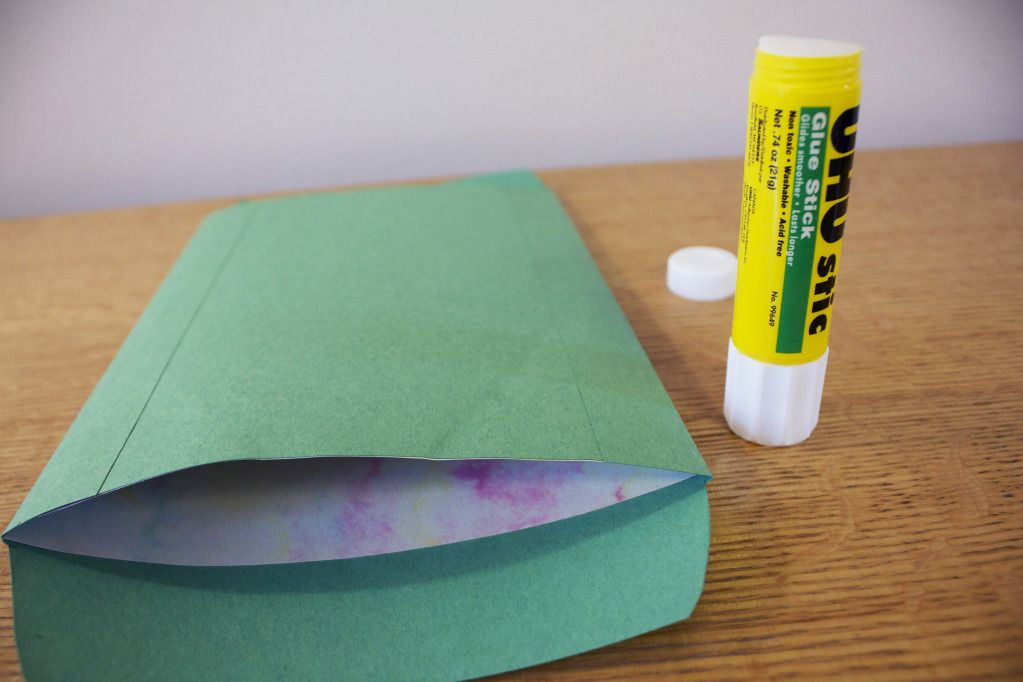
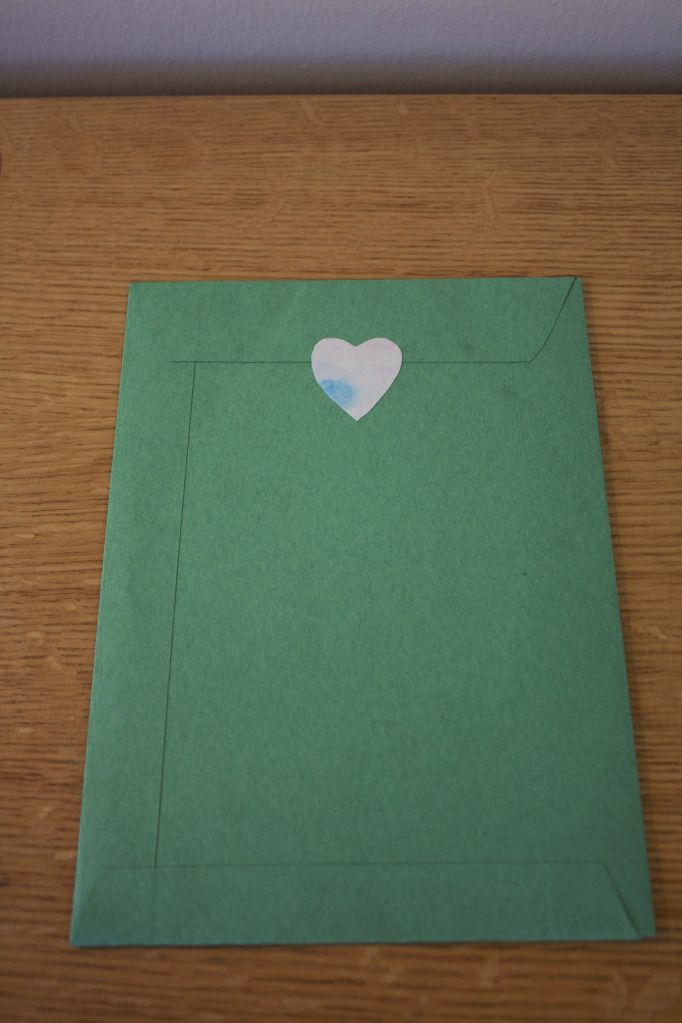
7.) Next, glue the bottom lip to the double sided inner rectangle (like the picture on the left above). Your envelope is almost completed!

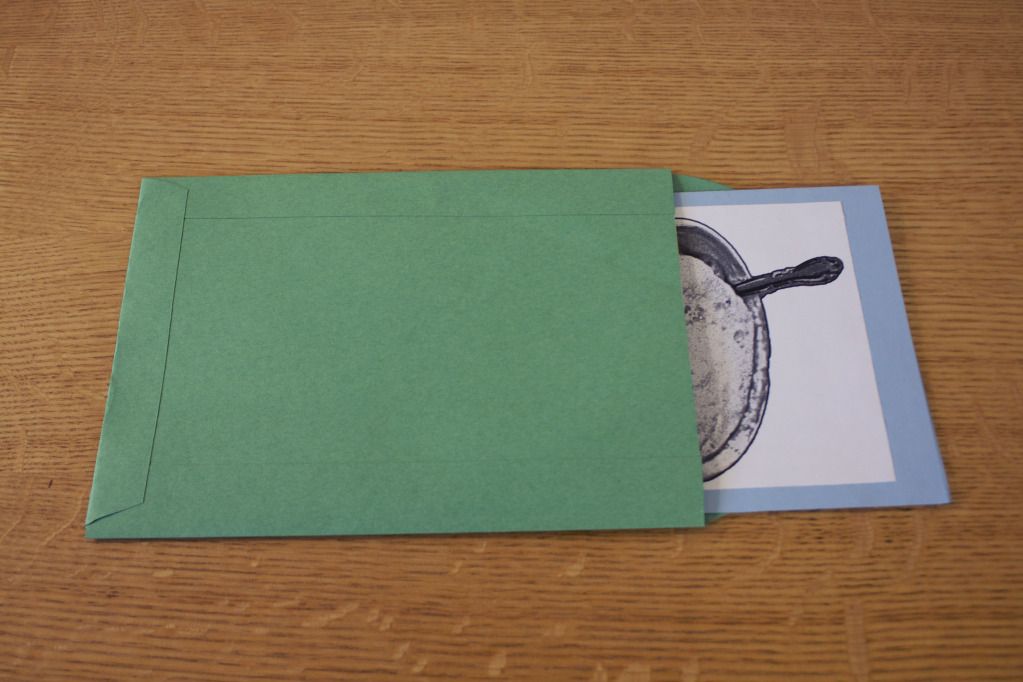
10.) The next few steps could be tweaked or changed to whatever closing method you want for your envelope. I cut out a little tie-dye heart and turned the envelope back over.
As I stated earlier, there are also lots of other closing methods you could create. For example, you could glue string to the underside of the upper lip and sew or glue a button at the top edge of the envelope so that you could tie the envelope closed. This project would also look really nice using even higher quality paper (I am poor college student though so construction paper was cheap and accesible).
I happen to be a huge fan of snail mail, so that is one reason I really enjoy this project. I just feel like sending a letter is much more personal in so many ways. Hope everyone is having a great week so far!
It looks so pretty! Great idea :)
ReplyDelete